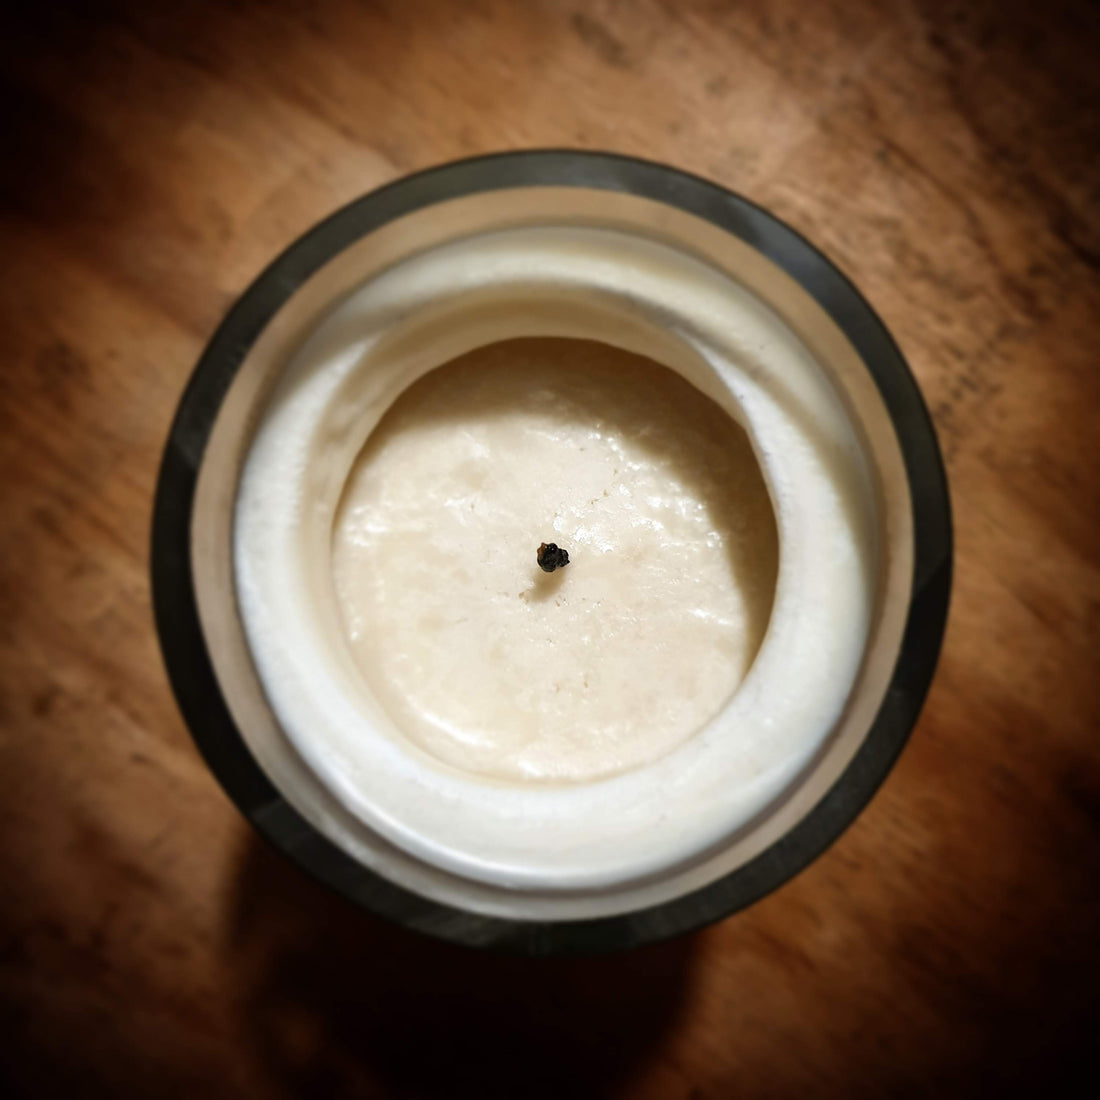
Candle Tunnelling: What Is It & How Can I Fix It?
Share
If you’re a regular candle user, most likely you’ve experienced candle tunnelling at some time or another. It’s when the flame drops below the top level of wax on a candle. This leaves a ring of wax around the top which doesn’t melt. Not only does it look unsightly, but the wick becomes harder to keep a light, it goes out quickly (due to the wax smothering the flame) and you miss out on the full burning and scent potential of your candle.
Candle tunnelling can occur to any candle, regardless of what it is made with or the container it is in. As a candle user though, there are some things you can do to reduce the likelihood of it occurring.
How to Prevent Candle Tunnelling
When it comes to candle tunnelling, like most things, prevention is better than a cure. The very first time you light your candle is when you have the most impact on the performance it will achieve during its lifespan. Always follow a candle's suggested burn times which should be located on the label, these times will vary from candle to candle, always remember to check the label prior to each burn.
To prevent the tunnelling of your candle, it’s important that you allow your candle to burn until the pool of melted wax reaches the edge of the candle. This means that the entire top of your candle needs to become liquid wax before the candle is extinguished. The length of time this takes can vary, but as a rule of thumb let the wick burn for one hour for every inch the candle vessel is in diameter. So, for Earth Candles:
- For our 100g beer bottle tealights, we suggest a one-three-hour burn, each time.
- For our 200g beer bottle candles, we suggest also a one-three-hour burn, each time.
- For our 360g wine bottle candles, we suggest a three to five hours burn, each time.
How to Fix Candle Tunnelling
If you think you’re too late to prevent tunnelling of your candle, it’s not too late. There are some ways you can help bring your candle back to almost peak condition. The method you use will depend on the severity of the candle tunnelling.
- Minor tunnelling – gently heat the top of the candle with a heat gun until the top layer of wax melts and smooths out. Remember to trim the wick after this process to ensure you have a long enough wick for the next burn (never use a hairdryer for this process).
- Something a little worse – wrap tinfoil around the rim of the candle, except for a small area above the wick. When the candle is lit, the foil will keep the heat inside and melt the tunnelled area, discard any excess wax as needed. Note: take extreme care when performing this task as the foil and wax will be hot.
- Major tunnelling – there is a chance your candle may not be able to be fixed. In this case, you can scoop out (with a spoon) the scented soy wax from your candle and place it in a soy melt/oil burner. Light the tealight underneath and enjoy the fragrance from the melting wax. You could also try a candle warmer if you have access to one.
We’d love for you to experience the stunning fragrances and long burning times of our soy candles. Available in three sizes, they are perfect for home and work use. Remember when lighting your candle for the first time, keep it burning until the top layer of wax has completely melted!
